50's Make Up Tutorial
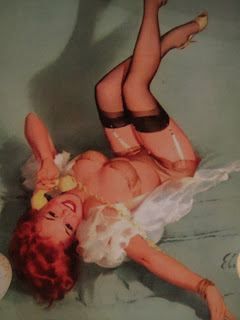
I thought it was about time I tried my hand at a make up tutorial for you all! The trend for 50’s weddings still runs strong and I regularly get asked for advice and tips on how to do Dita Von Teese/Marilyn Monroe type styles.
So, before we start a few things to remember, this style of make up was based around war time, so women had very little money to buy luxuries like foundation and blusher. This look is all about the eye liner and the lips!
I’m using:
1). Benefit eyeshadow ‘low profile’
2). Mac eyeshadow ‘rite of spring’
3). Fero eyeshadow ‘caramel’
4). Mac eyeshadow ‘folie’
5). Mac gel eyeliner in black
6). Clinique High Definition mascara in black
7). Girls aloud false lashes ‘Sarah’
8). Mac blusher ‘well dressed’
9). Loreal Touch Magique concealer
10). Rimmel Exaggerate lip liner ‘Red Diva’
11). Rimmel lasting finish lipstick ‘Bordeaux’
12). Mac Studio Fix powder in NC 25
Apply your base, and concealer. This only needs to be a very light dusting, as the focus is on the liner and lips
Step 1
With a large brush apply the cream eyeshadow over your whole lid, right up to underneath the brow, then apply a shimmery/pearlescant colour to the lid, up to the socket line.
Step 2
In the socket line with a small soft brush apply a caramel colour
Step 3
Define the outer corners and outer socket of your eye with a darker brown shadow
Step 4
Using a large blending brush, sweep the brush over your whole eye focusing on the socket and blending the colours evenly
Step 5
Apply liquid/gel liner starting from the inner edge outwards. There’s a great tutorial on the Mac website for how to apply liquid/gel eyeliner http://www.maccosmetics.co.uk/makeup_artistry/video_classic_eyeliner.tmpl
Step 6
Apply mascara, making sure to get right into the root – maybe apply some black eyeliner to the inner upper lid to ensure there are no ‘bare’ sections
Step 7
Eyebrows should be defined, and arched. Use an angled brush and some eyeshadow to fill in any gaps and give them the classic shape of the 50’s
Step 8
To the apples of the cheeks, apply a light dusting of pink/peach coloured blusher. This only needs to be very lightly applied.
Step 9
Apply your lashes – they should sit perfectly over the top of your liner and therefore blend nicely. If the seam shows up too much, use your angled brush and apply eyeliner over the top.
Next up - lips!
Different people have different tricks, I however use a bit of liquid foundation/concealer to apply to the lip as a primer.
Apply your red liner, it's important to use a liner to prevent the lipstick from bleeding into the lines around your mouth. Remember to make quite a round looking pout line, the lips of the 50's were extremely pouty and round - it wasn't until the 80's where it was fashionable for the cupids bow became more angular.
Apply your lipstick, using either a lipstick brush, or by applying it directly from the stick. Whichever works best for you - using a brush gives you better coverage and less room for errors! Remember to blot ladies....
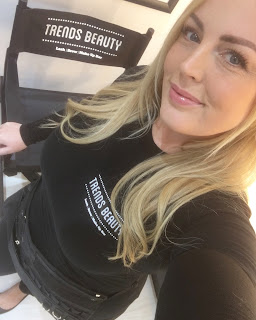
Et Voila! My take on 50's make up;
It's a really easy and quick look to produce, and anyone can do it with practice
xx


Comments